> ## Documentation Index
> Fetch the complete documentation index at: https://www.edgee.ai/docs/llms.txt
> Use this file to discover all available pages before exploring further.
# Team management
> Deploy, monitor, and optimize coding agents across your entire engineering team from one place.
Team management is the **team-level metering and dashboard** feature that helps you track and optimize your team's coding agent usage.
Cross-developer, cross-project, cross-session aggregation lives in the managed Edgee console.
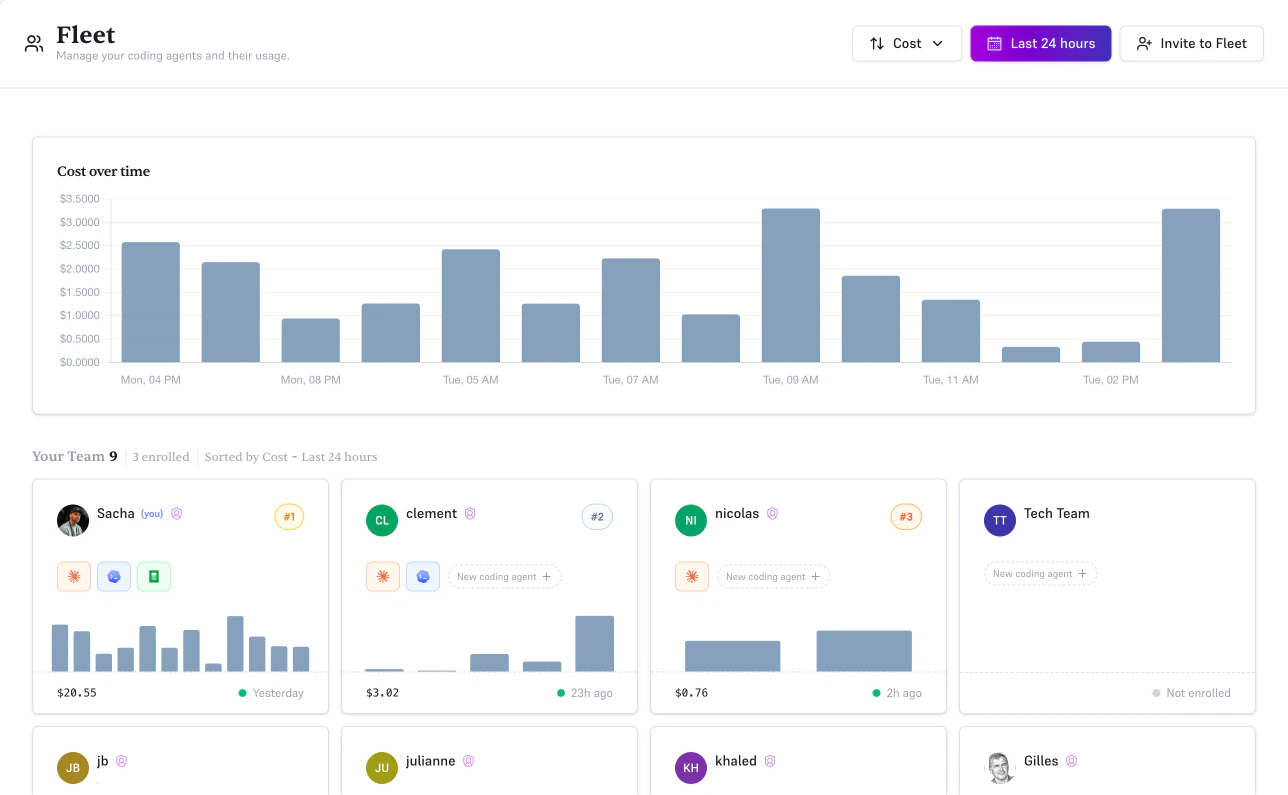
Engineering managers get a centralized view of every coding agent running in their organization. Invite teammates, enroll their preferred coding agent (Claude Code, Codex, or OpenCode) through the Edgee Agent Gateway, and track per-member usage — cost, tokens, requests — all in one dashboard.
`Tool Result` compression is enabled automatically on enrollment so every team member benefits from day one.
## What You Can Do
Assign a Claude Code, Codex, or OpenCode to any team member in a few clicks.
Setup instructions are generated automatically for them to get started immediately.
See how much each agent is spending, how many tokens it's consuming, and how active
it has been, ranked by contribution and filterable by time range.
Token compression is turned on automatically when you enroll an agent.
No manual configuration needed, savings start on the first request.
Toggle compression, enable debug mode, reveal API keys, or unenroll an agent
without leaving the Team dashboard.
## How It Works
Each organization member can have one agent type enrolled (Claude Code, Codex, OpenCode).
These "coding agents" are linked to the member's email address, that's what groups agents
into member cards on the Team dashboard. When you enroll an agent for a member, Edgee:
1. Creates a dedicated API key of the appropriate type
2. Automatically enables token compression for that agent
3. Generates ready-to-use setup instructions the member can run immediately
 ## Getting Started
Go to **Team** in the sidebar and click **Invite a member**. Enter their email address
and assign a role (Member or Admin). They will receive an invitation email and appear
as a pending card until they accept.
If the team member already has an account in your organization, skip this step, they
already appear in the member grid.
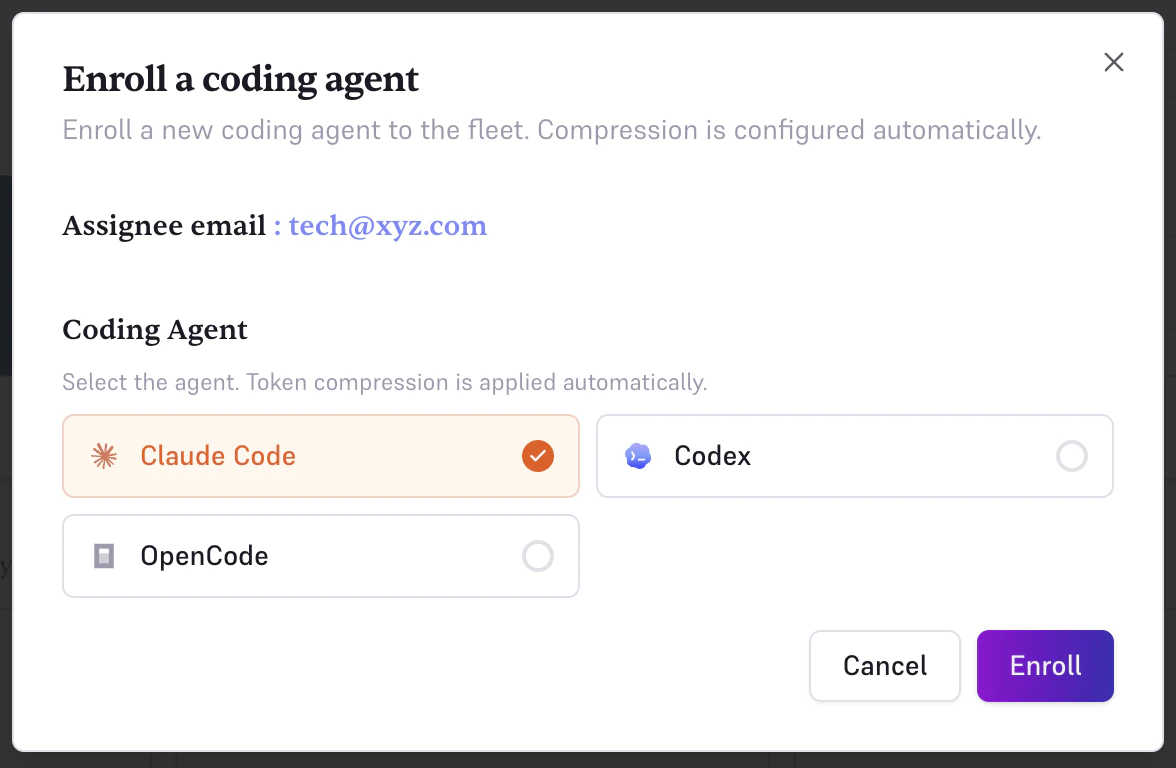
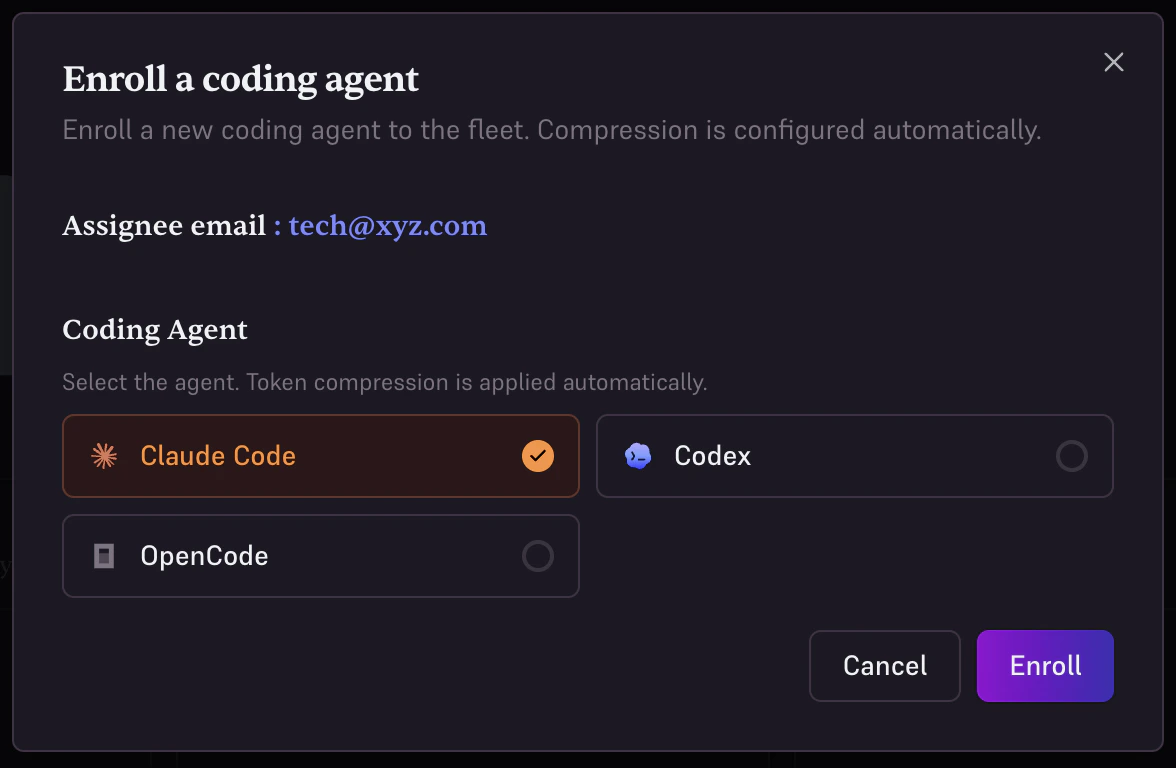
On a member's card, click **+ New coding agent** (or the enroll button on a pending
invitation card once they've accepted). Select the agent type:
* **Claude Code**: Anthropic's official AI coding CLI
* **Codex**: OpenAI's software engineering agent
* **OpenCode**: open-source multi-model coding agent
Click **Enroll**. Edgee creates the API key and prepares setup instructions.
## Getting Started
Go to **Team** in the sidebar and click **Invite a member**. Enter their email address
and assign a role (Member or Admin). They will receive an invitation email and appear
as a pending card until they accept.
If the team member already has an account in your organization, skip this step, they
already appear in the member grid.
On a member's card, click **+ New coding agent** (or the enroll button on a pending
invitation card once they've accepted). Select the agent type:
* **Claude Code**: Anthropic's official AI coding CLI
* **Codex**: OpenAI's software engineering agent
* **OpenCode**: open-source multi-model coding agent
Click **Enroll**. Edgee creates the API key and prepares setup instructions.
 After enrollment, the dialog shows step-by-step instructions:
1. Install the Edgee CLI
2. Run `edgee launch claude` (or `codex` / `opencode`)
Use **Copy instructions** to copy the full setup block as plain text and send it
to the team member directly. They can be up and running in under a minute.
## The Team Dashboard
### Overview Chart
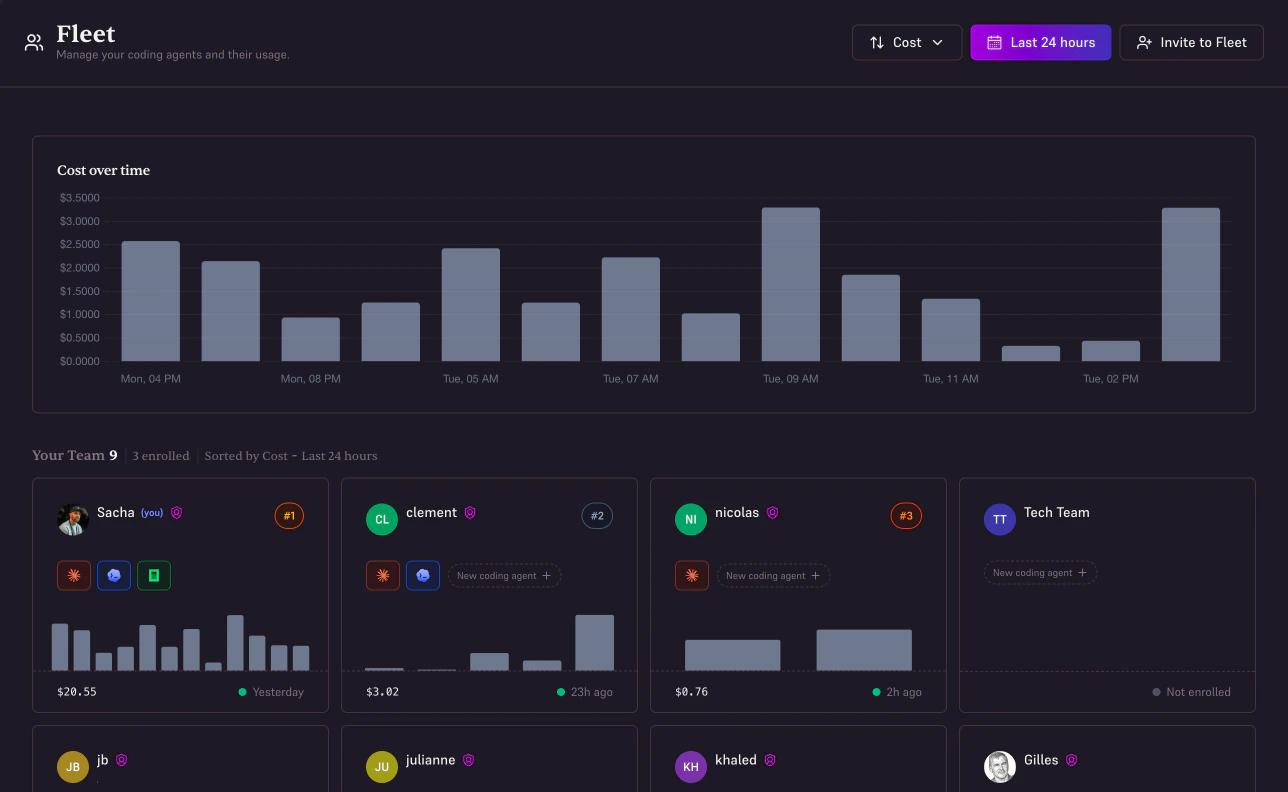
The top of the page shows an aggregated bar chart of your organization's total token usage
over the selected time range. Hover over any bar to see the exact value for that period.
### Member Cards
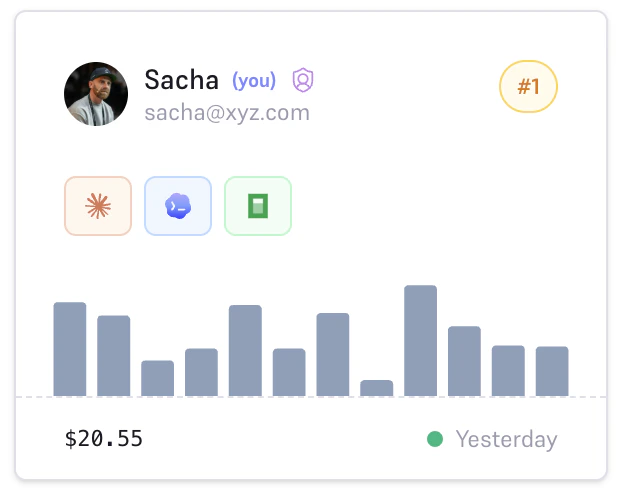
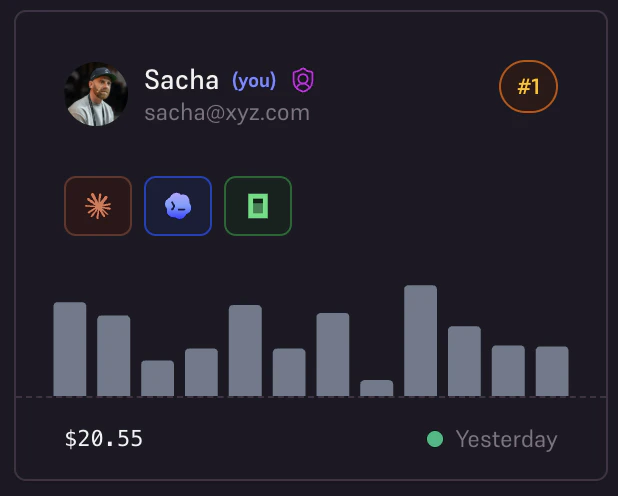
Each enrolled team member gets a card showing:
* **Agent badges**: which coding agents are active for that member
* **Rank badge**: top 3 members by the selected metric receive a #1 (gold), #2 (silver), or #3 (bronze) badge
* **Activity status**: when the agent was last used (or a pulsing indicator if used in the last hour)
* **Period metric**: cost, token count, or request count for the selected time range
* **Mini chart**: a sparkline of activity distribution over the time range
After enrollment, the dialog shows step-by-step instructions:
1. Install the Edgee CLI
2. Run `edgee launch claude` (or `codex` / `opencode`)
Use **Copy instructions** to copy the full setup block as plain text and send it
to the team member directly. They can be up and running in under a minute.
## The Team Dashboard
### Overview Chart
The top of the page shows an aggregated bar chart of your organization's total token usage
over the selected time range. Hover over any bar to see the exact value for that period.
### Member Cards
Each enrolled team member gets a card showing:
* **Agent badges**: which coding agents are active for that member
* **Rank badge**: top 3 members by the selected metric receive a #1 (gold), #2 (silver), or #3 (bronze) badge
* **Activity status**: when the agent was last used (or a pulsing indicator if used in the last hour)
* **Period metric**: cost, token count, or request count for the selected time range
* **Mini chart**: a sparkline of activity distribution over the time range
 ### Sorting and Time Range
Use the controls in the header to adjust what's shown:
| Control | Options |
| -------------- | --------------------------------------------- |
| **Sort by** | Cost · Tokens · Requests |
| **Time range** | Last 24h · 7d · 30d · 90d · custom date range |
Changing the sort metric re-ranks the member cards and updates the overview chart accordingly.
## Usage Metrics
Team management tracks three metrics per member and for the organization as a whole:
| Metric | Description |
| ------------ | ------------------------------------------------ |
| **Cost** | Accumulated spend in USD for the selected period |
| **Tokens** | Total input + output tokens across all requests |
| **Requests** | Number of individual API requests made |
All metrics respect the selected time range. Lifetime totals (across all time) are also
used to determine whether a member has "never used" their agent key.
## GitHub activity
When your organization installs the **Edgee GitHub App** and your agents tag their sessions with the
repo and pull request they're working on, the team dashboard rolls those sessions up into per-repo and
per-PR breakdowns. Engineering leaders can answer "which repo is consuming the most tokens this week?"
or "how much did we spend on PR #1234?" without leaving the page.
Sessions are tagged via four MCP tools (`setSessionGitHubRepo`, `addSessionPullRequest`,
`addSessionCommit`, `setSessionName`) that the agent calls during the run. See
[Sessions → Linking sessions to GitHub](/docs/features/sessions#linking-sessions-to-github)
for the install steps and the agent-side configuration.
### Top repositories
The right column of the dashboard surfaces a compact **Top repositories** list ranked by session count
in the selected period. Click a row to open the repo on GitHub.
If GitHub isn't connected yet, the widget shows a "Connect GitHub" prompt linking to
**Settings → Integrations → GitHub**. If GitHub is connected but no agent has tagged a session in the
selected period, it shows "No repository activity in this period" — switch the time range to widen the
window.
### Repository and pull request cards
Below the team leaderboard, two card grids show per-repo and per-PR activity for the selected period:
* **Repositories** — one card per linked repo with active sessions in the period. Each card shows the
primary metric (cost / tokens / requests, switches with the dashboard sort), session count,
total tokens, requests, cost, savings, and last activity. Click to open the repo on GitHub.
* **Pull requests** — one card per `(repo, PR)` pair touched by an agent in the period. Same fields as
the repo card. Click to open the pull request on GitHub.
Both sections track the dashboard's time range and sort metric — change the period and the cards
refetch with a brief pulse indicator. Sessions are attributed to a repo or PR only when the agent
actually called the matching MCP tool during that session.
## Managing Enrolled Agents
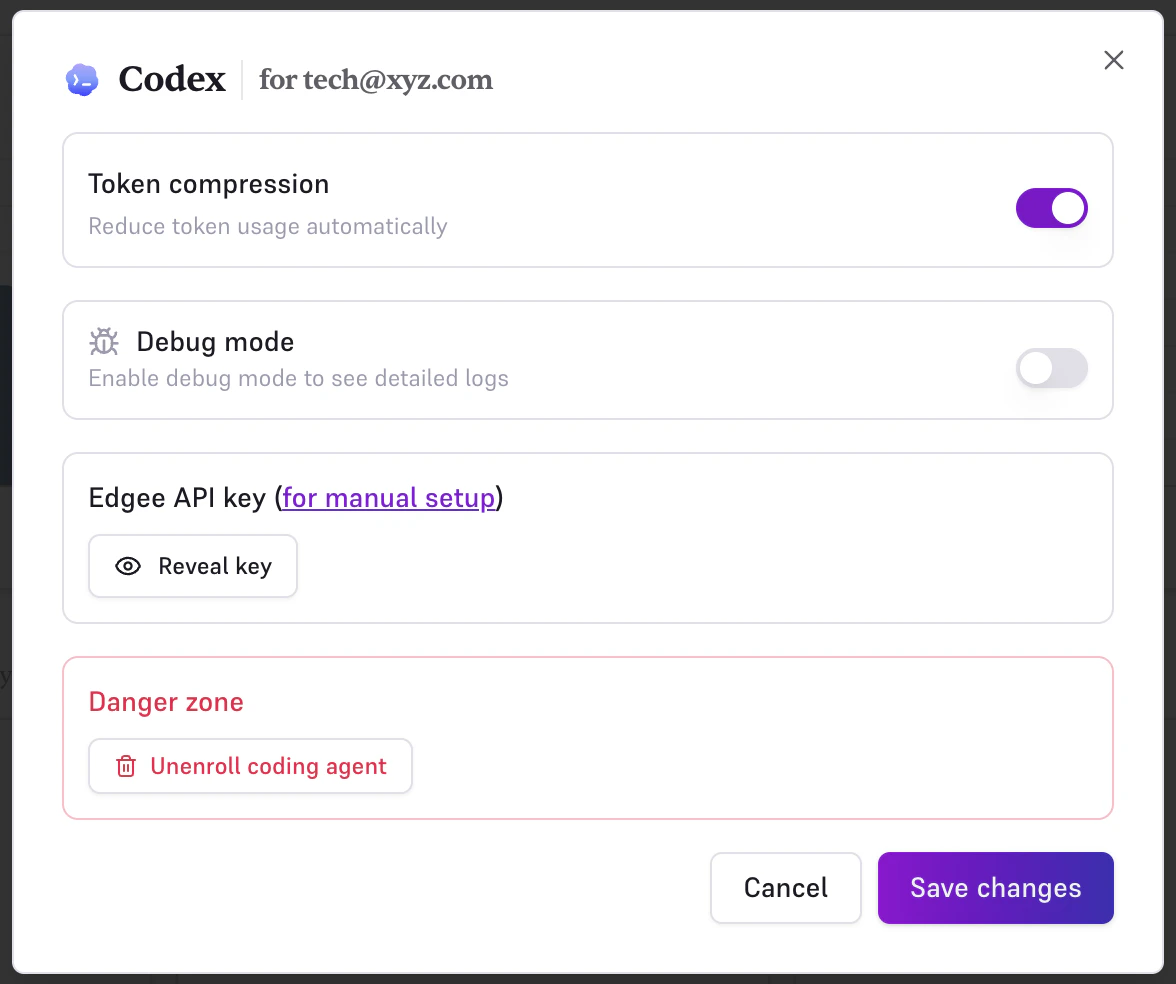
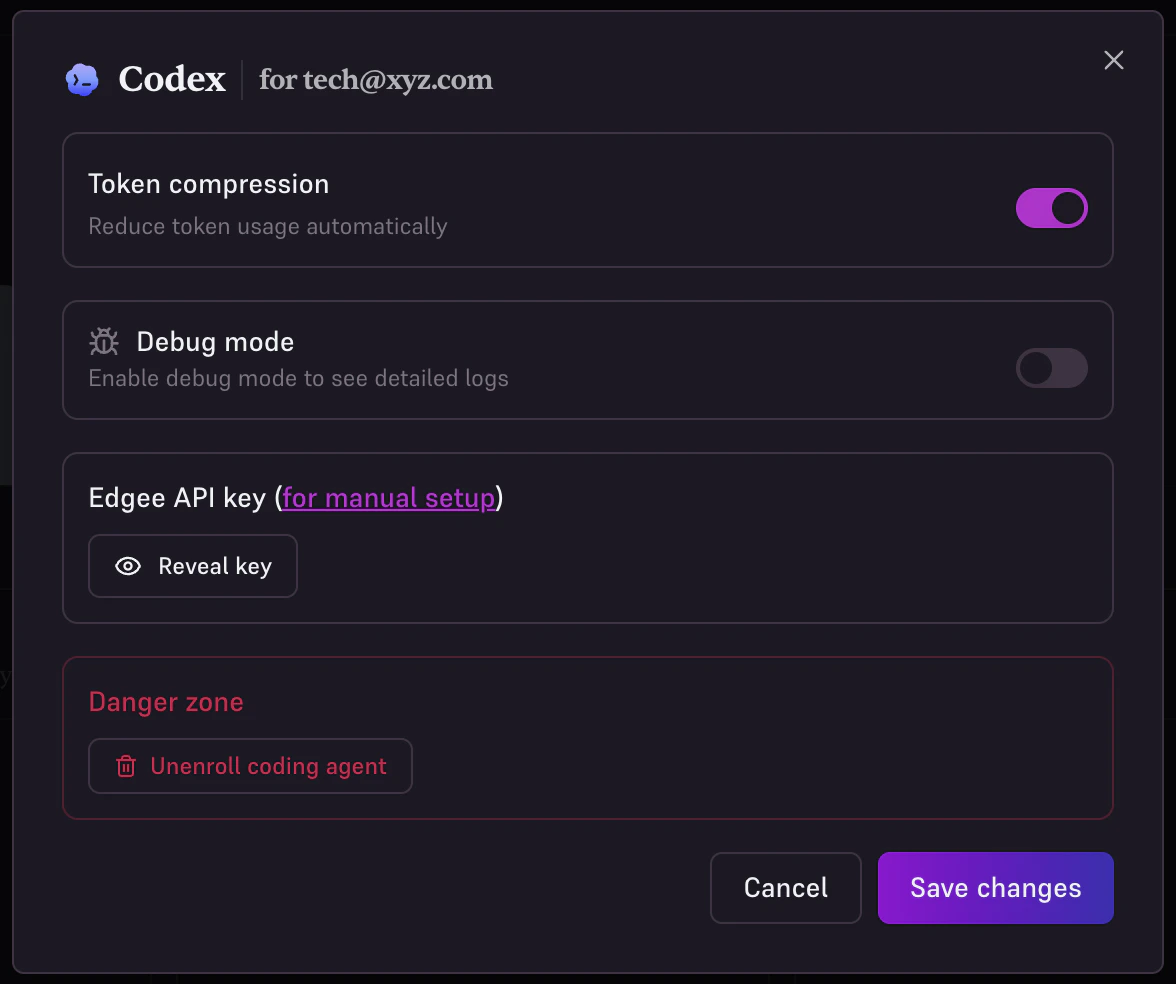
Click the settings icon on any agent badge in a member card to open the management dialog.
### Sorting and Time Range
Use the controls in the header to adjust what's shown:
| Control | Options |
| -------------- | --------------------------------------------- |
| **Sort by** | Cost · Tokens · Requests |
| **Time range** | Last 24h · 7d · 30d · 90d · custom date range |
Changing the sort metric re-ranks the member cards and updates the overview chart accordingly.
## Usage Metrics
Team management tracks three metrics per member and for the organization as a whole:
| Metric | Description |
| ------------ | ------------------------------------------------ |
| **Cost** | Accumulated spend in USD for the selected period |
| **Tokens** | Total input + output tokens across all requests |
| **Requests** | Number of individual API requests made |
All metrics respect the selected time range. Lifetime totals (across all time) are also
used to determine whether a member has "never used" their agent key.
## GitHub activity
When your organization installs the **Edgee GitHub App** and your agents tag their sessions with the
repo and pull request they're working on, the team dashboard rolls those sessions up into per-repo and
per-PR breakdowns. Engineering leaders can answer "which repo is consuming the most tokens this week?"
or "how much did we spend on PR #1234?" without leaving the page.
Sessions are tagged via four MCP tools (`setSessionGitHubRepo`, `addSessionPullRequest`,
`addSessionCommit`, `setSessionName`) that the agent calls during the run. See
[Sessions → Linking sessions to GitHub](/docs/features/sessions#linking-sessions-to-github)
for the install steps and the agent-side configuration.
### Top repositories
The right column of the dashboard surfaces a compact **Top repositories** list ranked by session count
in the selected period. Click a row to open the repo on GitHub.
If GitHub isn't connected yet, the widget shows a "Connect GitHub" prompt linking to
**Settings → Integrations → GitHub**. If GitHub is connected but no agent has tagged a session in the
selected period, it shows "No repository activity in this period" — switch the time range to widen the
window.
### Repository and pull request cards
Below the team leaderboard, two card grids show per-repo and per-PR activity for the selected period:
* **Repositories** — one card per linked repo with active sessions in the period. Each card shows the
primary metric (cost / tokens / requests, switches with the dashboard sort), session count,
total tokens, requests, cost, savings, and last activity. Click to open the repo on GitHub.
* **Pull requests** — one card per `(repo, PR)` pair touched by an agent in the period. Same fields as
the repo card. Click to open the pull request on GitHub.
Both sections track the dashboard's time range and sort metric — change the period and the cards
refetch with a brief pulse indicator. Sessions are attributed to a repo or PR only when the agent
actually called the matching MCP tool during that session.
## Managing Enrolled Agents
Click the settings icon on any agent badge in a member card to open the management dialog.
 ### Token Compression
Toggle Token Compression on or off for this specific key. Compression is enabled
automatically on enrollment, you can disable it here if needed for a particular member or agent.
Compression settings apply per key. Disabling it for one member does not affect compression
for other members or other keys in your organization.
### Debug Mode
Enable debug mode to capture full request and response payloads for this key. Useful when a
team member reports unexpected behavior, debug logs appear in the [Logs](/docs/features/observability) page
with a bug icon for easy filtering.
Debug mode captures raw request data. Enable it only temporarily and for specific keys,
as it may capture sensitive prompt content.
### Unenrolling an Agent
To remove a coding agent key, click **Unenroll coding agent** in the management dialog.
You will be asked to confirm. Unenrolling permanently deletes the API key, the member
will need to be re-enrolled with a new key to use the gateway again.
## Next Steps
Learn how team members use `edgee launch claude` to start a session through the gateway.
Explore session-level logs, request traces, and cost breakdowns across your entire team.
Set spending limits and receive alerts when a member or the organization exceeds a threshold.
### Token Compression
Toggle Token Compression on or off for this specific key. Compression is enabled
automatically on enrollment, you can disable it here if needed for a particular member or agent.
Compression settings apply per key. Disabling it for one member does not affect compression
for other members or other keys in your organization.
### Debug Mode
Enable debug mode to capture full request and response payloads for this key. Useful when a
team member reports unexpected behavior, debug logs appear in the [Logs](/docs/features/observability) page
with a bug icon for easy filtering.
Debug mode captures raw request data. Enable it only temporarily and for specific keys,
as it may capture sensitive prompt content.
### Unenrolling an Agent
To remove a coding agent key, click **Unenroll coding agent** in the management dialog.
You will be asked to confirm. Unenrolling permanently deletes the API key, the member
will need to be re-enrolled with a new key to use the gateway again.
## Next Steps
Learn how team members use `edgee launch claude` to start a session through the gateway.
Explore session-level logs, request traces, and cost breakdowns across your entire team.
Set spending limits and receive alerts when a member or the organization exceeds a threshold.